- Log in to myNOVA from the NOVA’s home page.
- Click on SIS: Student Information System.
- Click on the Tuition & Payments tile, and then Pay My Bill button.
- Click on View Details.
- Your Account Summary will be displayed on the next page.

Payment
Payment Tutorials
- Log in to myNOVA from the NOVA’s home page.
- Select VCCS SIS (Student Information System).
- Select the My Student Information tile.
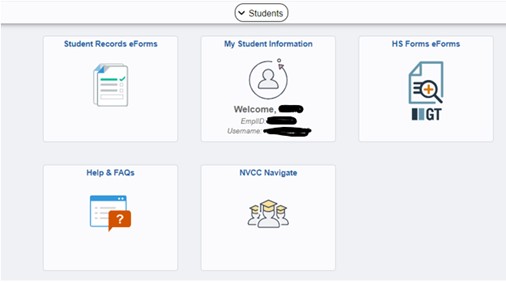
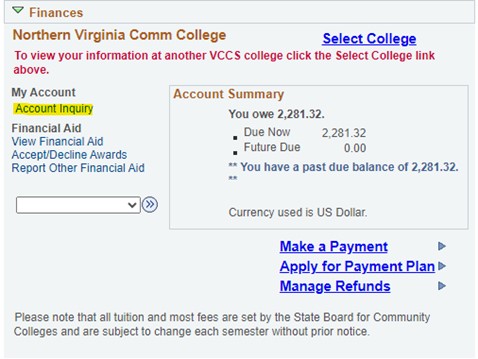
- Scroll down to the Finances
- Select the Account Inquiry.
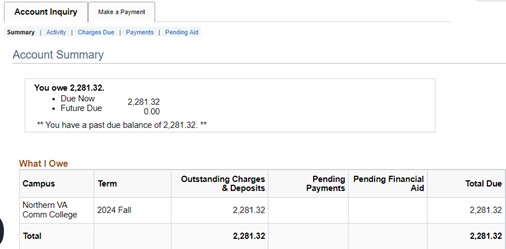
- Your Account Summary will be displayed on the next page.
Below are steps for students to manage or enroll in Refunds with Nelnet.
- Log in to myNOVA.
- Click on SIS: Student Information Center.
- Click on the Tuition & Payments tile, and then Pay My Bill button.
- Click on Manage Refunds.
- Enroll in Dual Authentication/Mobile Alerts by entering your phone number.

- Enter code received. Click Submit.

- Enter your bank information and click Save.

- Your profile will now appear and you can Edit/Remove Refund Method.

You can authorize a family member or a friend to pay your balance as an Authorized Party (Payer).
Authorized Parties will have access to your Northern Virginia Community College - VCCS account balance and the activity that the Authorized Party has initiated on your behalf, such as payments. They do not have access to your contact information, user credentials, other Authorized Parties or your financial account information.
- Log in to myNOVA.
- Click on SIS: Student Information System.
- Click on the Tuition & Payments tile, and then Pay My Bill.
- Click on Add an Authorized Party link.

- Fill in the form with your Authorized Party details and save.
- A confirmation email containing a Create Account link will be sent to your authorized party. They must create an account to complete the process.
- After creating an account, the Authorized Party can log in at https://online.campuscommerce.com/
- An Authorized Party account should be created first. The Authorized Party can log in at https://online.campuscommerce.com/. This page should be bookmarked.
- Click Make a Payment and follow the prompts.
- Log in to myNOVA.
- Select VCCS SIS (Student Information System).
- Select the My Student Information tile.

- Scroll to the Finances section.
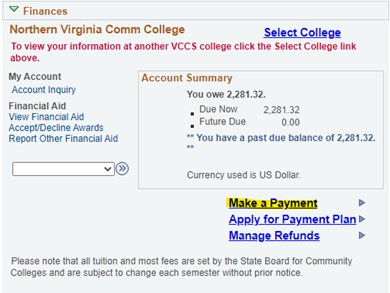
- If you do not see charges due or if you see the following message in the Finances section, you will need to set your college preferences by clicking on the Select College hyperlink.

- From the drop-down menu for Institution, select Northern Virginia Community College.

- Select Make a Payment.
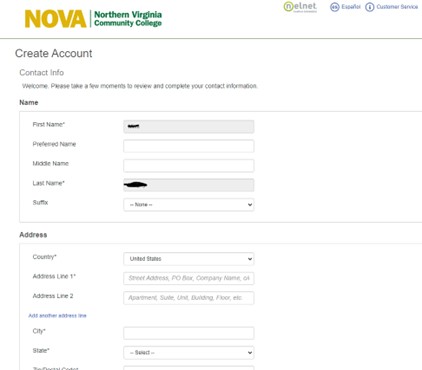
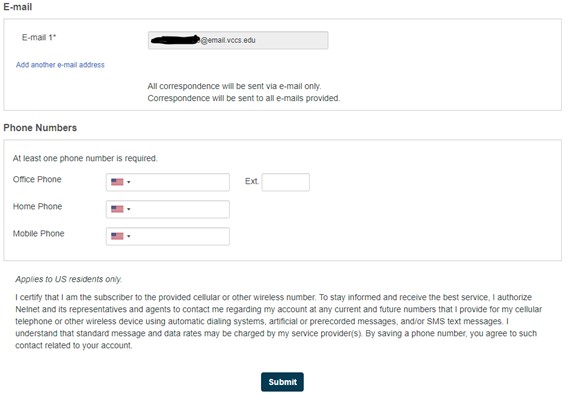
- If it is your first time making a payment online, you will be asked to create an account. You will need to provide some information such as name, address, email, and phone numbers. If it is not your first time making a payment online, proceed to step 8.
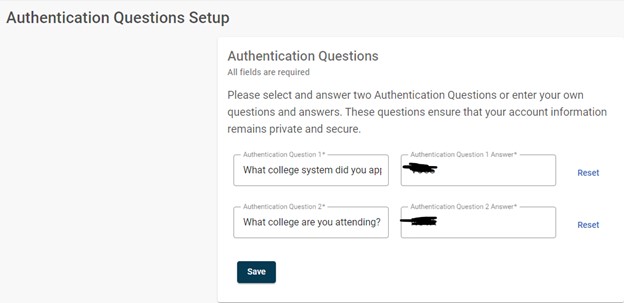
- You will then be asked to select or create Authentication Questions.
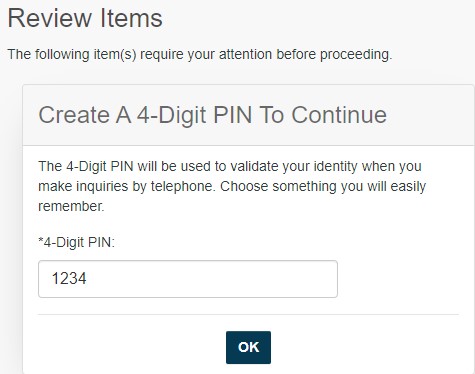
- Now, you will be asked to create a 4-digit PIN.
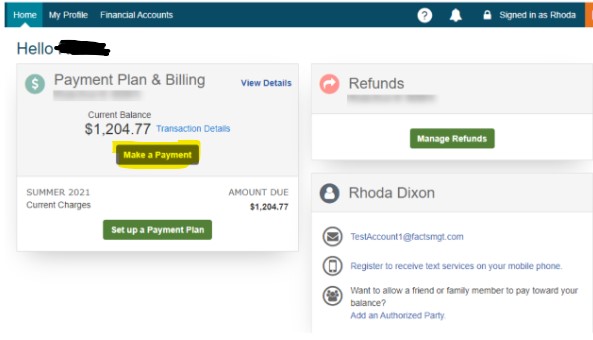
- Once you have created an account or if you are a returning student, you will land on the student dashboard.
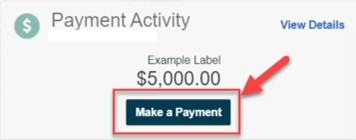
- Select Make a Payment.
- Next, you will be asked what you would like to pay. You should select current charges.

- All of the open terms will display and you will select the term and the amount to pay.

- After you have selected the term and amount to pay, click the Next- Payment Method button at the bottom of the page.
- Now you will either choose an existing payment method account on file or add a new payment method account type (i.e. e-check or credit card). Note: processing fees apply only to credit/debit card transactions.
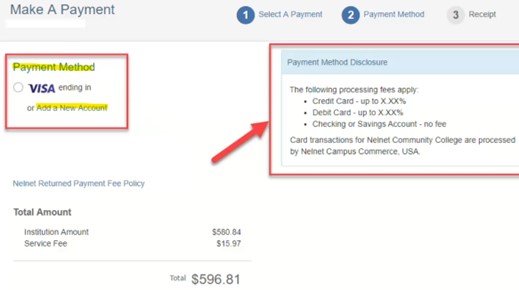
- After you have selected the payment method, an authorization message similar to the message below will appear. You should read the message and if you understand the message and are ready to submit your payment, click on the green Pay Now.

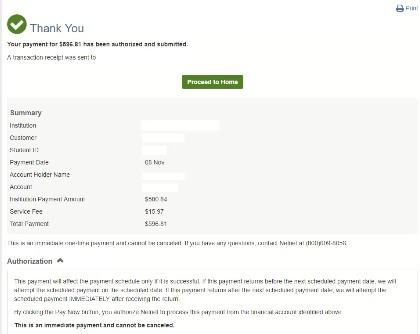
- A confirmation page will be presented. You can print this page for your records if you elect to do so. The confirmation can also be viewed in your notification center.
