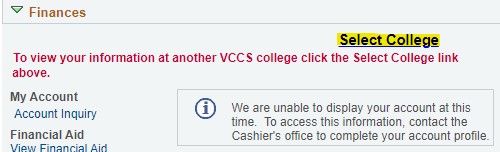
If you do not see charges due or if you see the following message in the Finances section, you will need to set your college preferences by clicking on the Select College hyperlink.
From the drop-down menu for Institution, select Northern Virginia Community College..
Select Apply for Payment Plan.
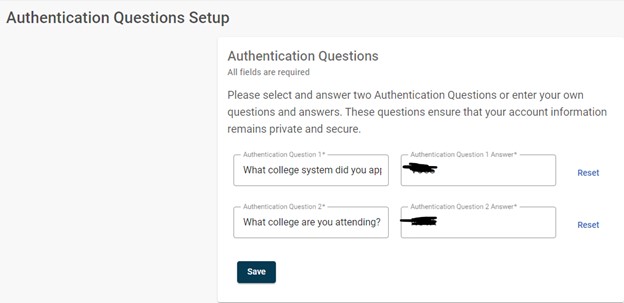
You will then be asked to select or create Authentication Questions.
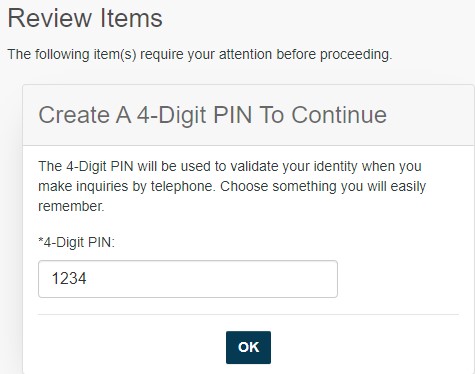
Now, you will be asked to create a 4-digit PIN.
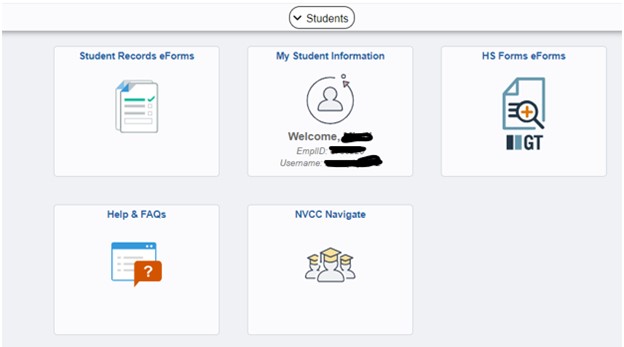
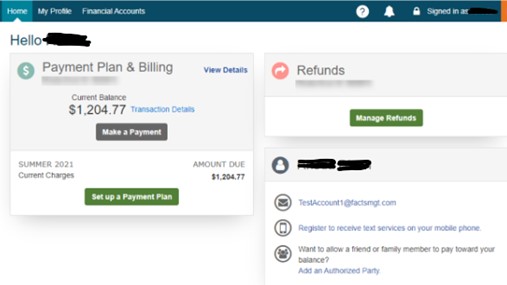
Once you have created an account or if you are a returning student, you will land on the student dashboard.
Select Set up a Payment Plan.
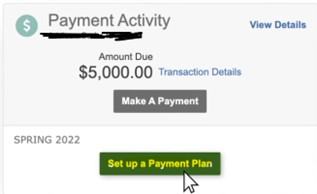
Next, you will be asked to select a term and then click Begin. NOTE: A payment plan can only be set up for one student at a time.
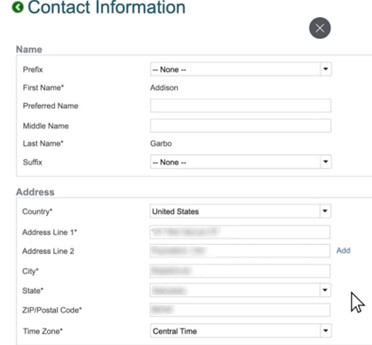
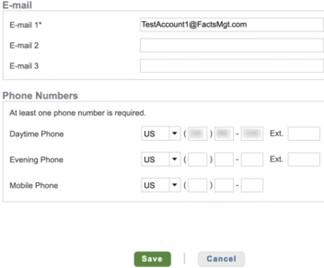
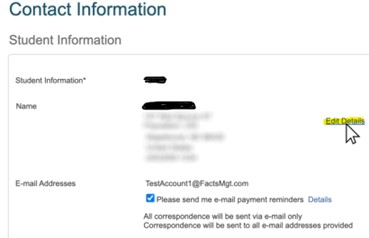
You will be asked to complete your contact information such as name, address, email, and phone numbers.
If you need to make changes to your contact information, you can click on Edit Details. Otherwise, you can click Next.
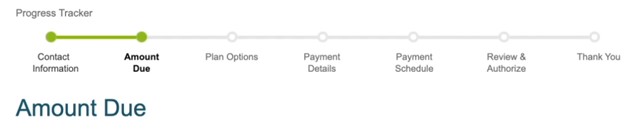
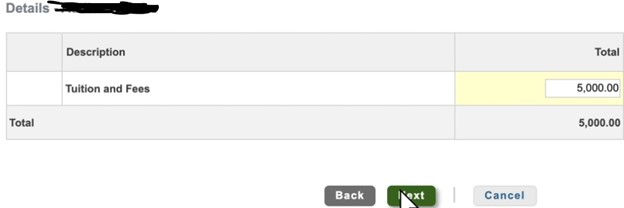
The Amount Due page will reflect your SIS account balance net of any anticipated aid and any payments made. After reviewing the amount due, select Next.
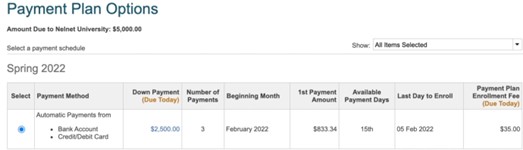
Next, you will see the Plan Options. This is where you will see all of the payment plan types offered. Select the plan that best fits your needs.
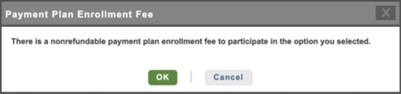
There will be a one-time enrollment fee charged. You will need to click OK to proceed.
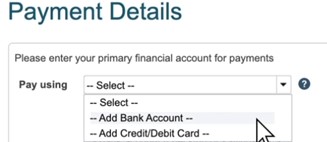
Now you will enter your bank account or credit/debit card information on the PaymentDetails page. Choose whatever option works best for you. If you choose to use a credit/debit card, service fees will apply. Once you are finished, select Next.
NOTE: The payment method can be changed at any time.
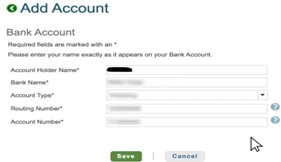
Your bank account can be a checking or savings account and no additional fees are charged. You will need your routing number and account number to set up the account.
Once you have confirmed your payment information, select Next.
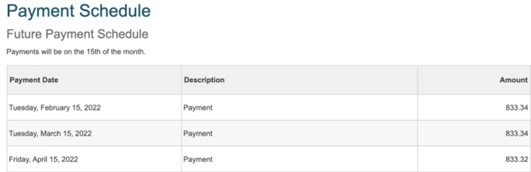
The Payment Schedule page will appear. Review the information and then select Next.
Note: If any of the scheduled payments fall on a weekend or a bank holiday, the payments will be processed on the next business day.
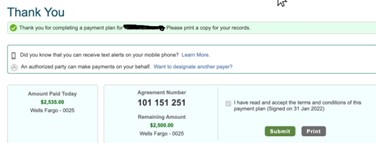
The final step in the process is to review the information provided and make any changes. If everything is correct, read and accept the terms and conditions of the payment plan by checking the box and selecting Authorize.
A pop-up will appear which will ask you to verify the payment account for your down payment. It is also asking you if you want to use the same financial account for future scheduled payments as the financial account used for the down payment. If not, select Change in the pop-up to set up a different account for future planned payments. If so, select Got It!